It's my incredibly friends Birthday today!
This is the friend with the awesomely decorated house, who's all crafty. She's the one that takes our family photos for us. (Remember Growly Bear's Cake Smash? And our Family Photo Wall?) She's the one that helped me pull off Growly Bear's 1st Birthday Cake. (and entire party!) She's always there for me, whenever, for whatever, no matter what. She's crazy, and funny, and often is completely insane. She's the kinda friend everyone needs!
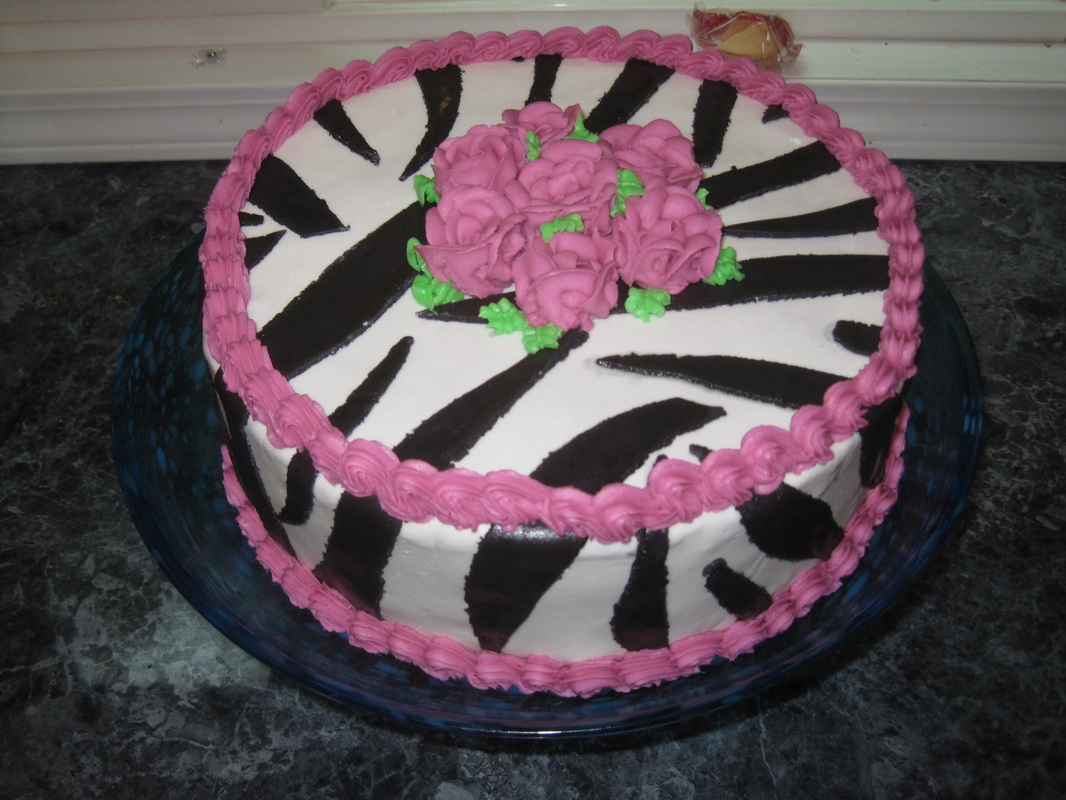
So, it stands to reason that she needed a kick ass cake! And I decided I was up for the challenge, so.... I made her this!
This is the friend with the awesomely decorated house, who's all crafty. She's the one that takes our family photos for us. (Remember Growly Bear's Cake Smash? And our Family Photo Wall?) She's the one that helped me pull off Growly Bear's 1st Birthday Cake. (and entire party!) She's always there for me, whenever, for whatever, no matter what. She's crazy, and funny, and often is completely insane. She's the kinda friend everyone needs!
So, it stands to reason that she needed a kick ass cake! And I decided I was up for the challenge, so.... I made her this!
I tried to document the entire process so that I could share it with you all, but I did get a little excited and forgot to take some pics along the way.
I will share with you what I have though!
First step: The Cake Pan!
You'll need:
1 x 14" round cake pan, 3" deep
parchment paper
non-stick spray
flour for dusting the pan
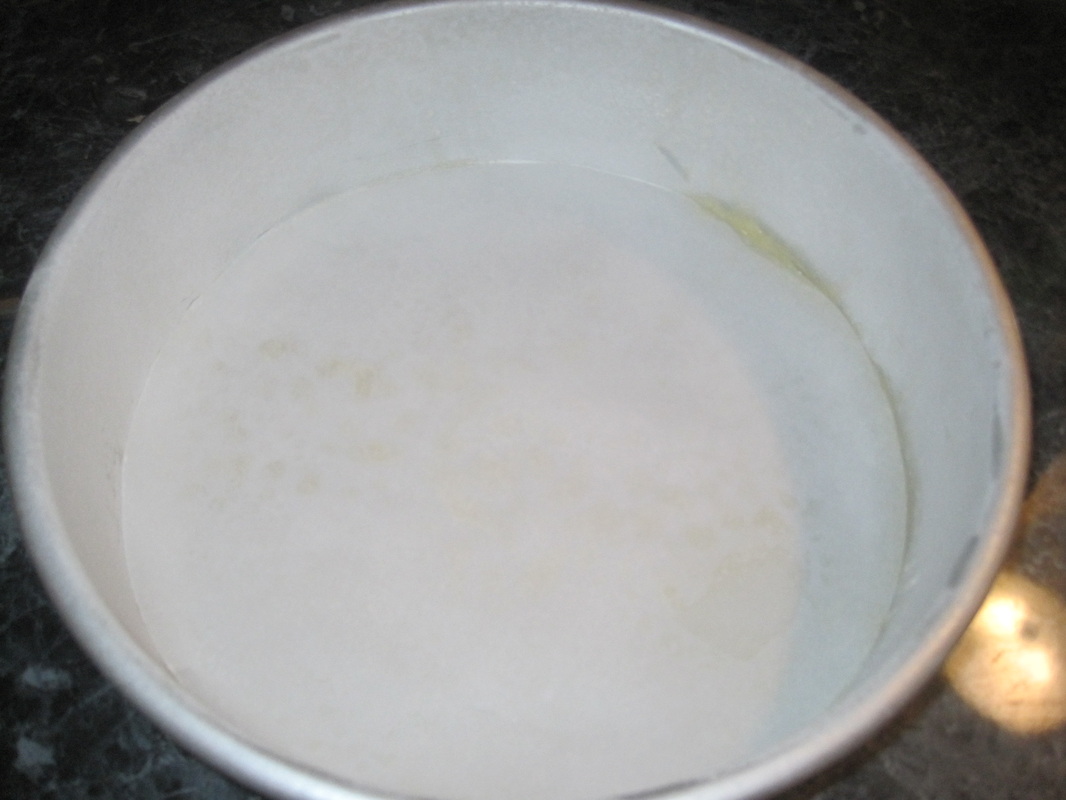
1) Trace, and cut a piece of parchment paper to fit in the bottom of the pan
2) Spray and flour your pan, making sure to bang off the excess flour.
3) Carefully place parchment paper on in the bottom of the pan, making sure it's completely flat
I will share with you what I have though!
First step: The Cake Pan!
You'll need:
1 x 14" round cake pan, 3" deep
parchment paper
non-stick spray
flour for dusting the pan
1) Trace, and cut a piece of parchment paper to fit in the bottom of the pan
2) Spray and flour your pan, making sure to bang off the excess flour.
3) Carefully place parchment paper on in the bottom of the pan, making sure it's completely flat
Second Steps: The Cakes!

I don't usually do the cake mix thing, but I figure, when I'm putting so much time into the outside, it's OK to take a shortcut on the inside - so long as it's still delicious. For this cake, I needed a white batter (coconut cream cake) and a dark batter (chocolate fudge cake)
Make each recipe (separately!) and set aside
Chocolate Fudge Cake
Coconut Cream Cake
Make each recipe (separately!) and set aside
Chocolate Fudge Cake
- 1 (18.25 ounce) package dark chocolate cake mix
- 1 (3.9 ounce) package instant chocolate pudding mix
- 1 (16 ounce) container sour cream
- 3 eggs
- 1/3 cup vegetable oil
- 1/2 cup strong coffee, cooled
- 3/4 cup canned cream of coconut
Coconut Cream Cake
- 1 (18.25 ounce) package white cake mix
- 1/4 cup vegetable oil
- 3 eggs
- 1 (8 ounce) container sour cream
- 1 cup canned cream of coconut

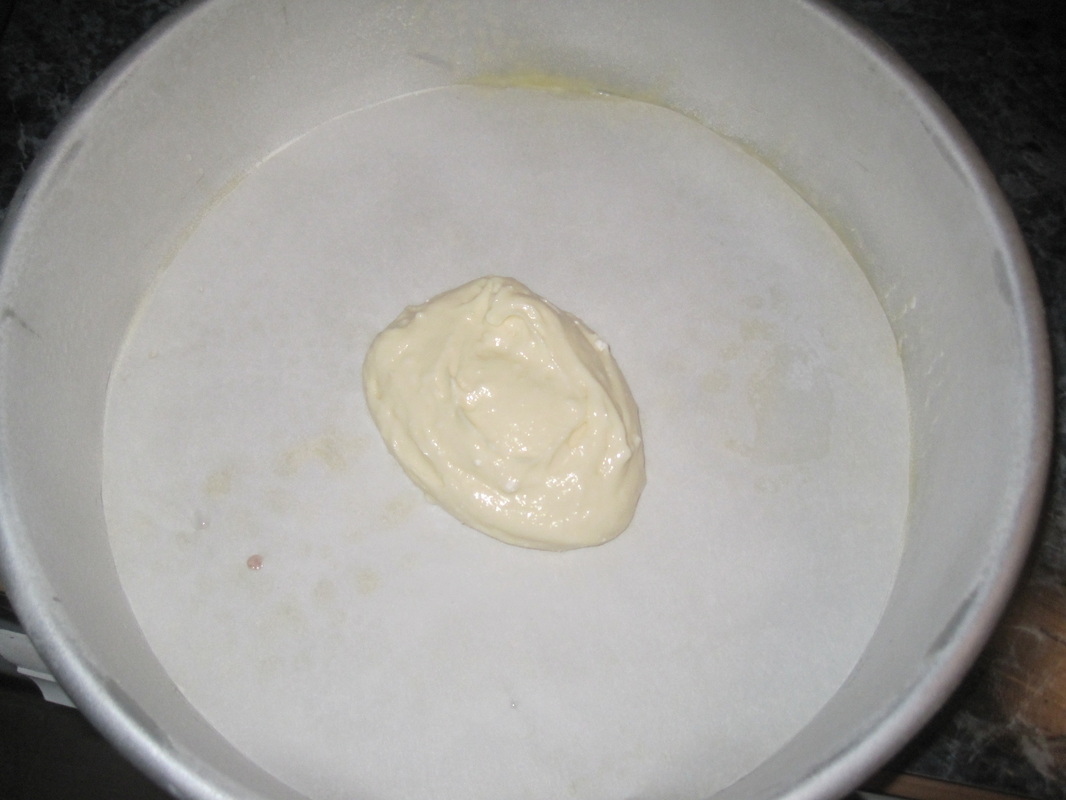
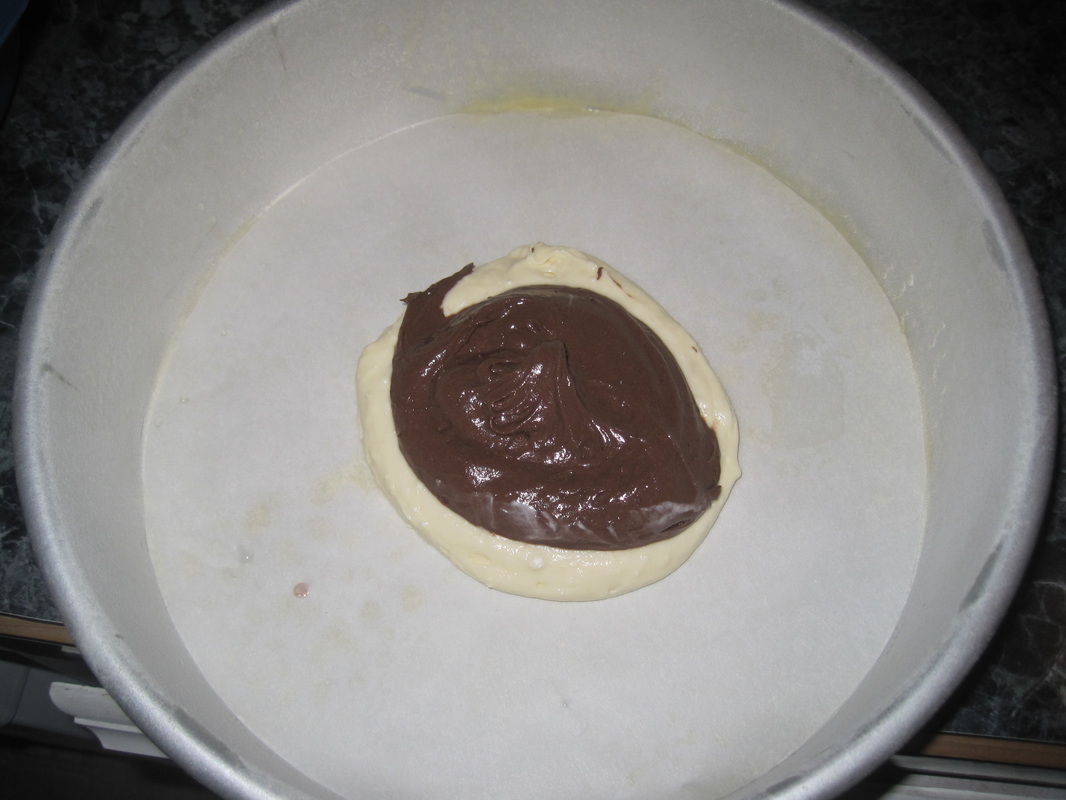
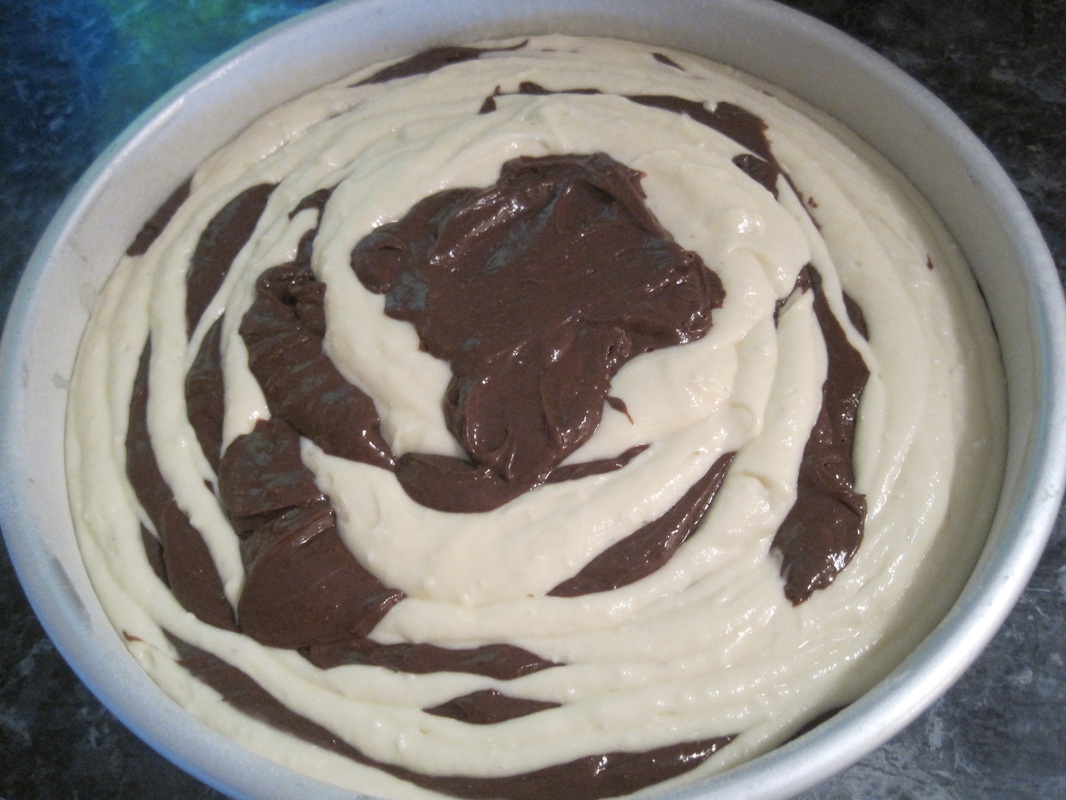
Next, you need to create your zebra stripes! Using a half cup measure, alternate scooping the light and dark batters directly on top of each other in the very center of the prepared pan.
| 
| 
|
Bake this huge amount of cake batter at 350 for about 2 hours. I started checking mine at about the 1.5 hour mark, but it was closer to 2 hours before it was ready to come our of the oven.
Once cooked, remove from oven and let cook on a wire rack.
Meanwhile, make a thick cardboard support for what will be the bottom of the cake by tracing your cake pan on the cardboard. You want to cut it slightly smaller then the cake it's self so that it's complete hidden under the cake and isn't sticking out at all.
Trim any excess cake that's risen above the cake pan during cooking so that you have a completely flat surface. Place your cardboard support on the top (what will be the bottom), place another cooling rack over this, and carefully flip the cake upside down so that it can release.
Once you've done this, you can carefully remove your parchment paper from the now top of the cake.
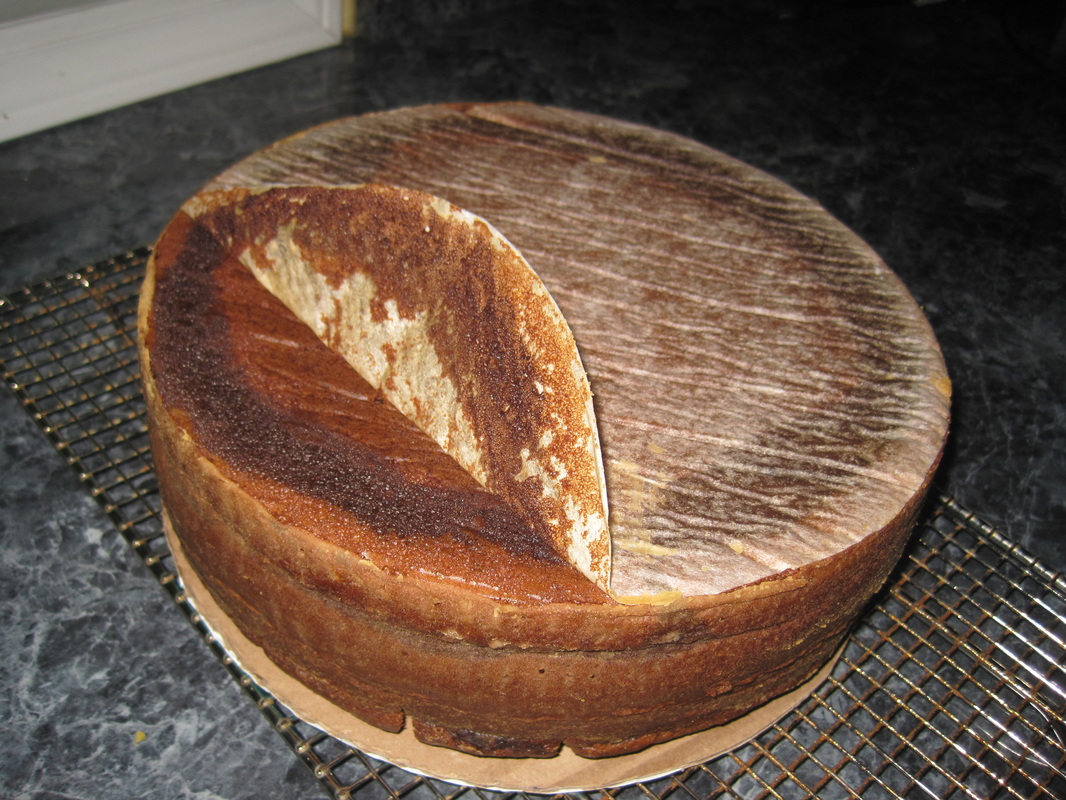
You can see my cardboard support peaking out from under the cake a little here. I trimmed it back after I took this photo so that it wasn't sticking out.
Third Step: Icing! (Crumb Coat)
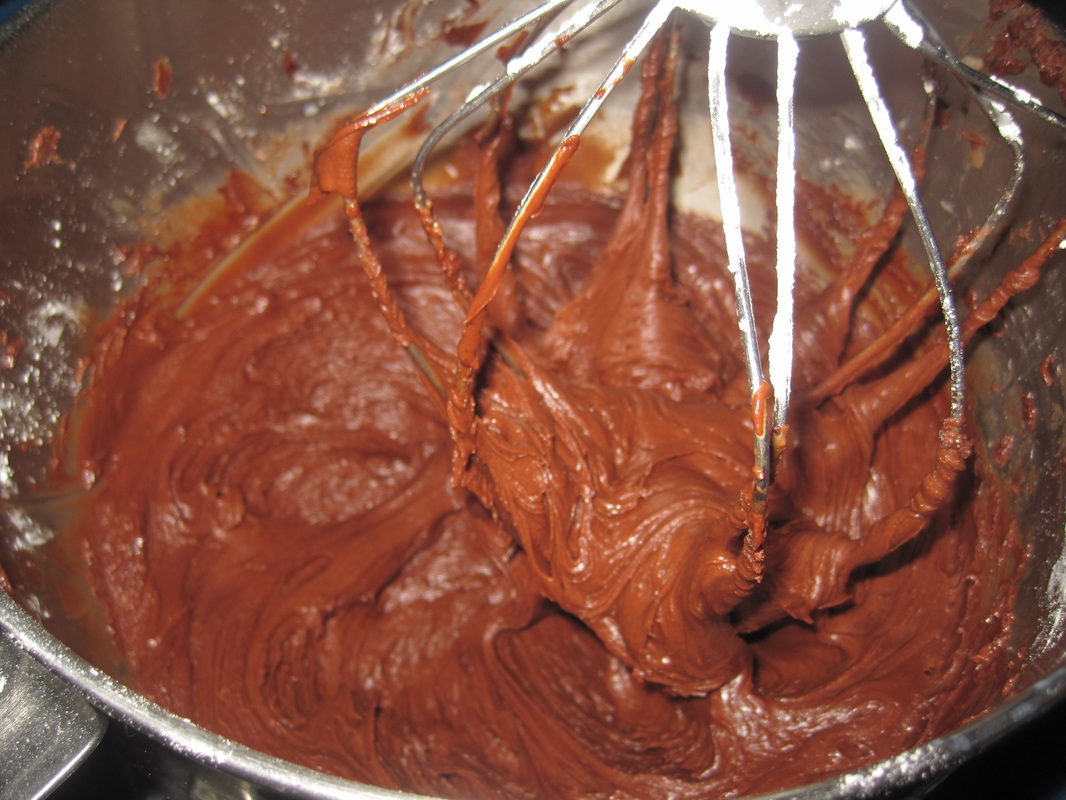
Chocolate Fudge Icing (*Note* This recipe makes a lot. You probably won't use it all for a single layer cake, but you can cover and refrigerated the leftovers and use on on a different project)
- 8 squares unsweetened chocolate
- 1/2 cup butter
- 7 cups icing sugar
- 3/4 - 1 cup milk (I always just keep adding till it seems "spreadable"0
2) Add icing sugar, and mix on low until crumbly.
3) Add milk and vanilla, and until well blended. (make sure you pause to scrape the sides a few times)
I unfortunately got excited here and didn't take a picture of the iced cake. But it's pretty simple. Ice it generously, keeping it as smooth and flat as possible. Refrigerated for about an hour.
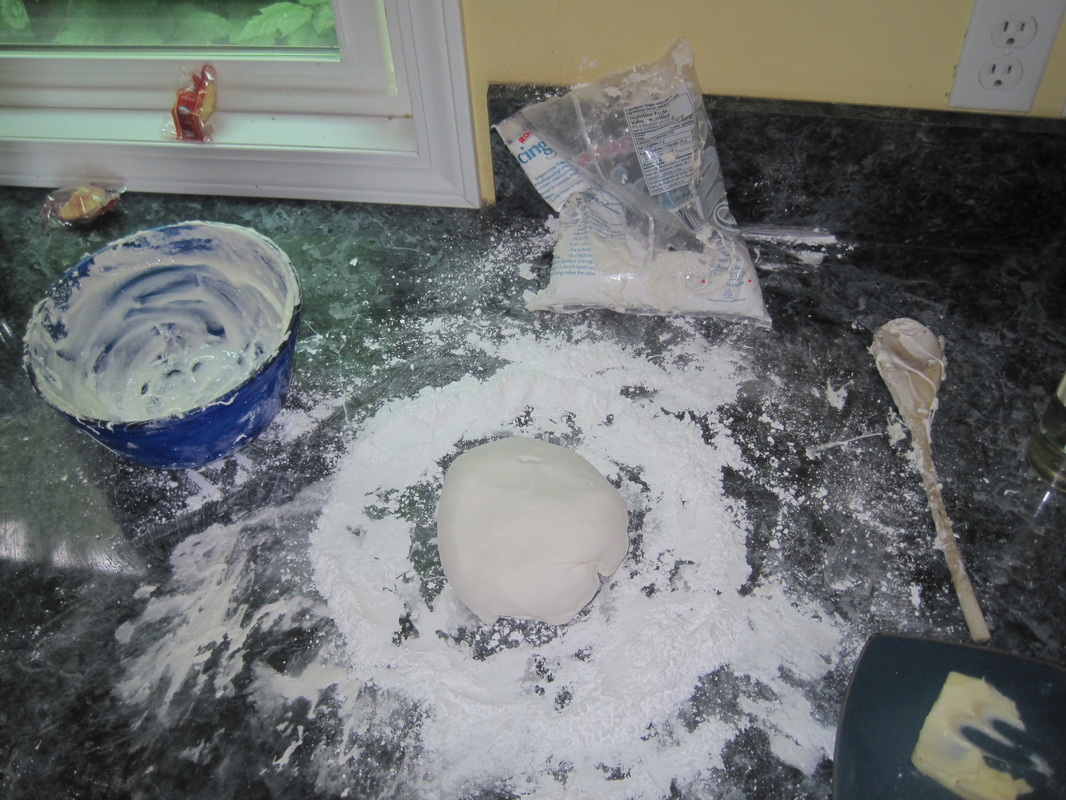
Fourth Step: Marshmallow Fondant (*Note* I actually made this the day before, and kept it in the fridge overnight. I microwaved it at 15 second intervals until it became soft enough to use the next day)
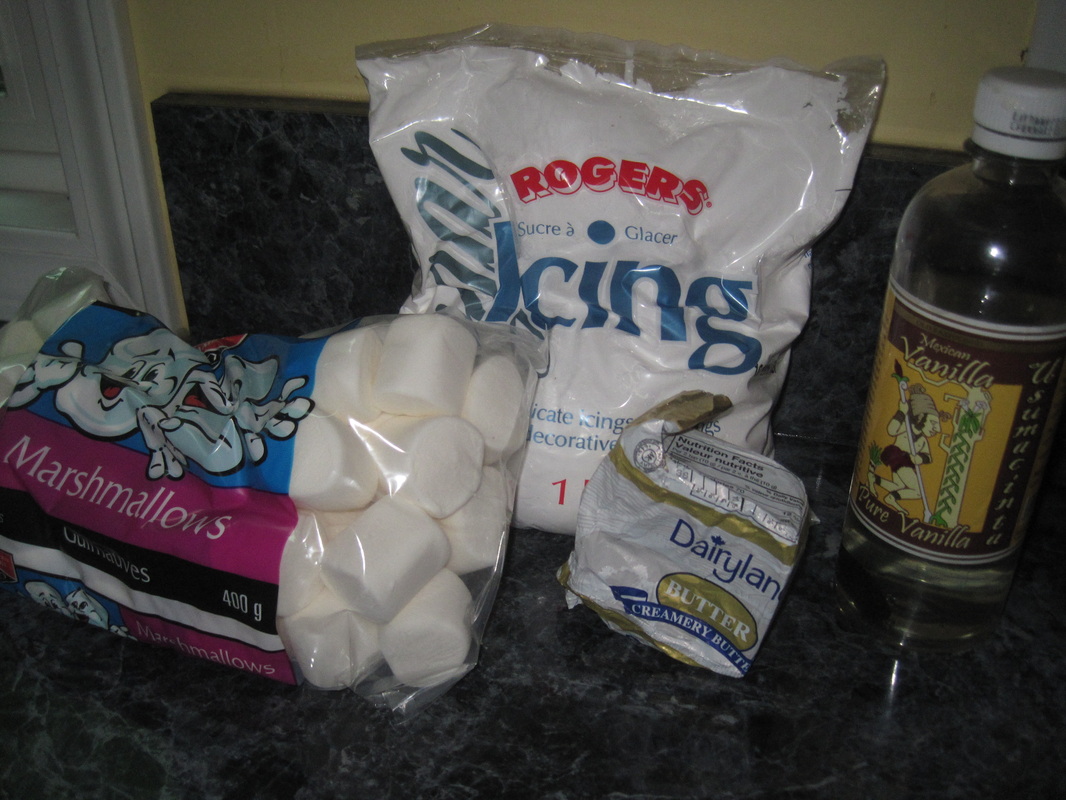
Marshmallow Fondant
1) Place the butter in a shallow bowl, and set aside.
2) Put the marshmallows in a large microwave-safe bowl, and microwave on High for 1 minute to start melting the marshmallows. Carefully stir the water and vanilla extract into the hot marshmallows, and stir until the mixture is smooth. Start to stir in the confectioners' sugar, 1 cup at a time, until you have a sticky dough. Reserve 1 cup of powdered sugar for kneading. The dough will be very stiff.
3) Rub your hands with the butter, and begin kneading the sticky dough. As you knead, the dough will become workable and pliable. Turn the dough out onto a work surface that's been dusted with confectioners' sugar and continue kneading until the fondant is smooth and no longer sticky to the touch, 5 to 10 minutes.
4) You can use immediately, or form into a ball, wrap tightly in plastic wrap, and refrigerate overnight.
- 1/4 cup butter
- 1 (16 ounce) package marshmallows
- 4 tablespoons water
- 1 teaspoon white vanilla extract
- 2 pounds confectioners' sugar, divided
1) Place the butter in a shallow bowl, and set aside.
2) Put the marshmallows in a large microwave-safe bowl, and microwave on High for 1 minute to start melting the marshmallows. Carefully stir the water and vanilla extract into the hot marshmallows, and stir until the mixture is smooth. Start to stir in the confectioners' sugar, 1 cup at a time, until you have a sticky dough. Reserve 1 cup of powdered sugar for kneading. The dough will be very stiff.
3) Rub your hands with the butter, and begin kneading the sticky dough. As you knead, the dough will become workable and pliable. Turn the dough out onto a work surface that's been dusted with confectioners' sugar and continue kneading until the fondant is smooth and no longer sticky to the touch, 5 to 10 minutes.
4) You can use immediately, or form into a ball, wrap tightly in plastic wrap, and refrigerate overnight.
Fifth Step: Decorating Time
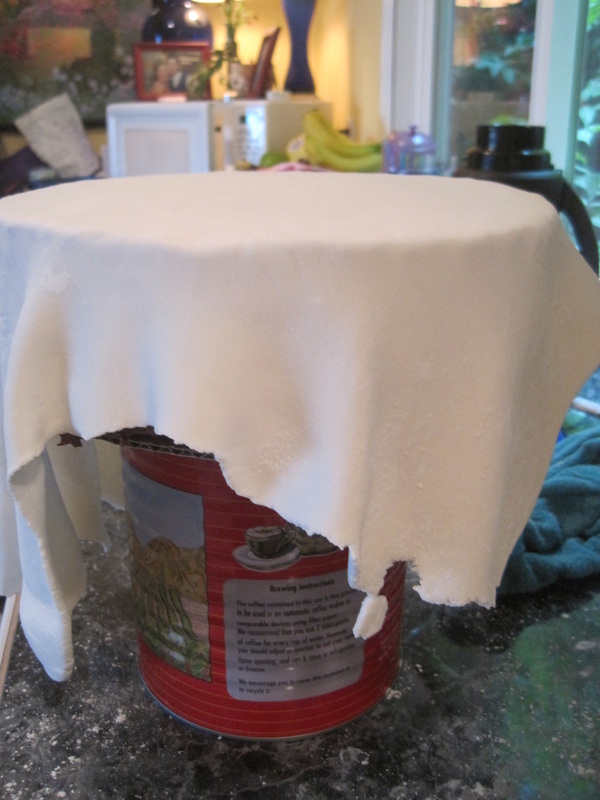
Split fondant in half. Roll out on surface that has been heavily dusted with confections sugar until extremely thin, but strong enough that you can move it. Fold in half so that it will be easier to move.
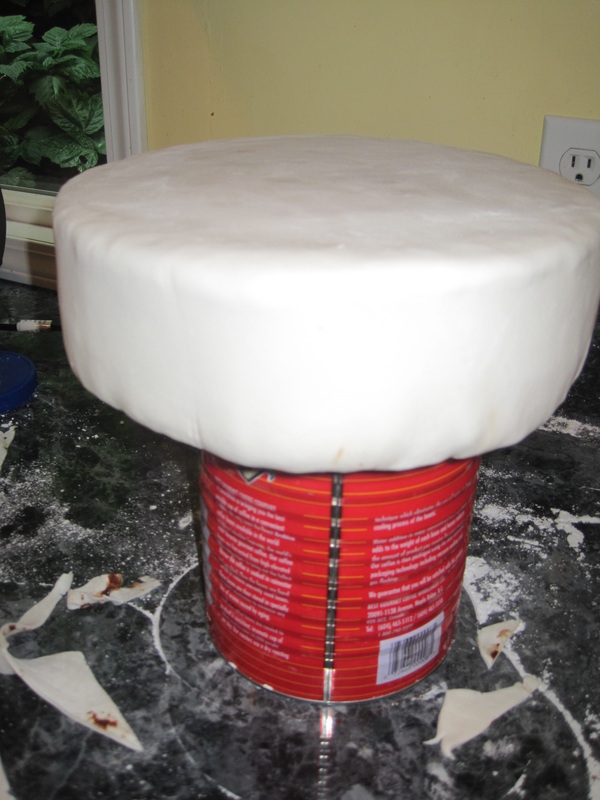
Place cake on some sort of raised pedestal, and carefully drape fondant over the top. Press down on top and along the sides making sure it's smooth, and flat, and there are no air bubbles.
Trim the overhang, leaving just enough to roll the edges under the cake.
Split fondant in half. Roll out on surface that has been heavily dusted with confections sugar until extremely thin, but strong enough that you can move it. Fold in half so that it will be easier to move.
Place cake on some sort of raised pedestal, and carefully drape fondant over the top. Press down on top and along the sides making sure it's smooth, and flat, and there are no air bubbles.
Trim the overhang, leaving just enough to roll the edges under the cake.
| 
|
Here's where I got excited and forgot to take pictures. From here I moved the cake to my cake stand,
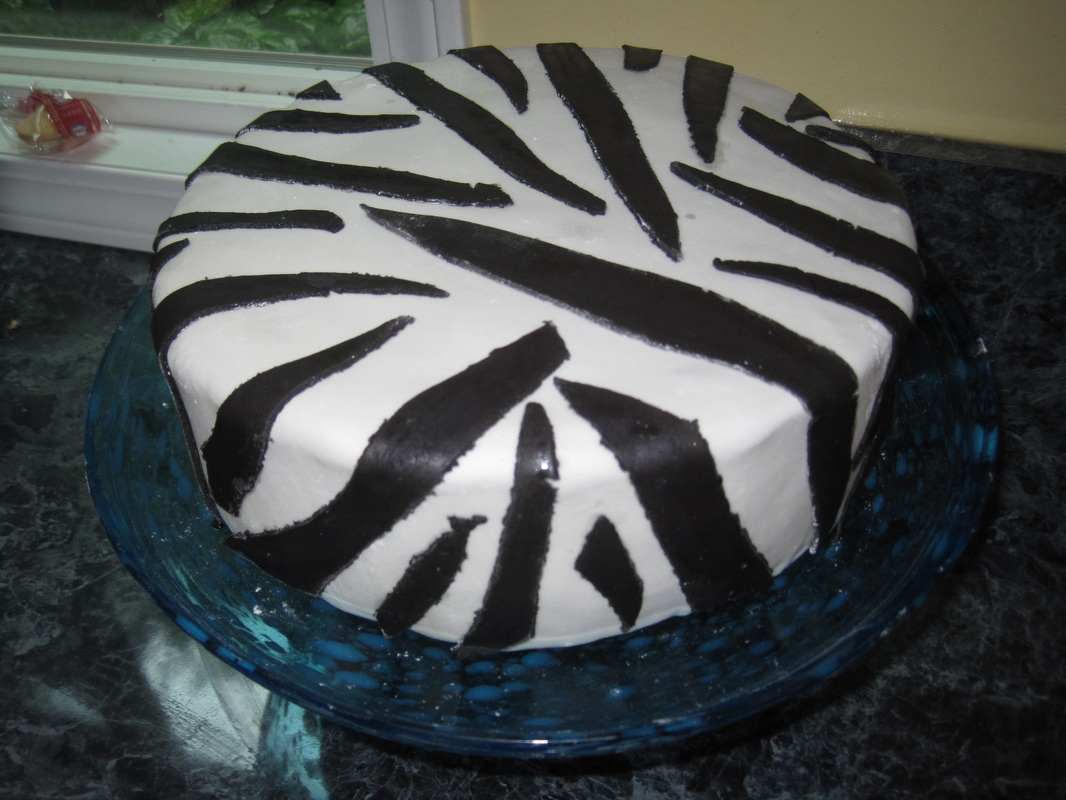
And then I tinted the remaining half of the fondant with black icing tint gel - it took A LOT to get a nice dark black. I ended up having way more then enough, and I'm sure I could have gotten away with only tinting about half of what was left over.
I rolled the black fondant flat, and cut random shaped and sized stripes.
I attached them using a small amount of water on the back, and pressing them lightly onto the cake. Be careful though! If you use too much water, it will make the black dye run.
Once I had all my striped places, I used a little water on my finger to go along each black stripe to liven up the color, and remove the excess icing sugar.
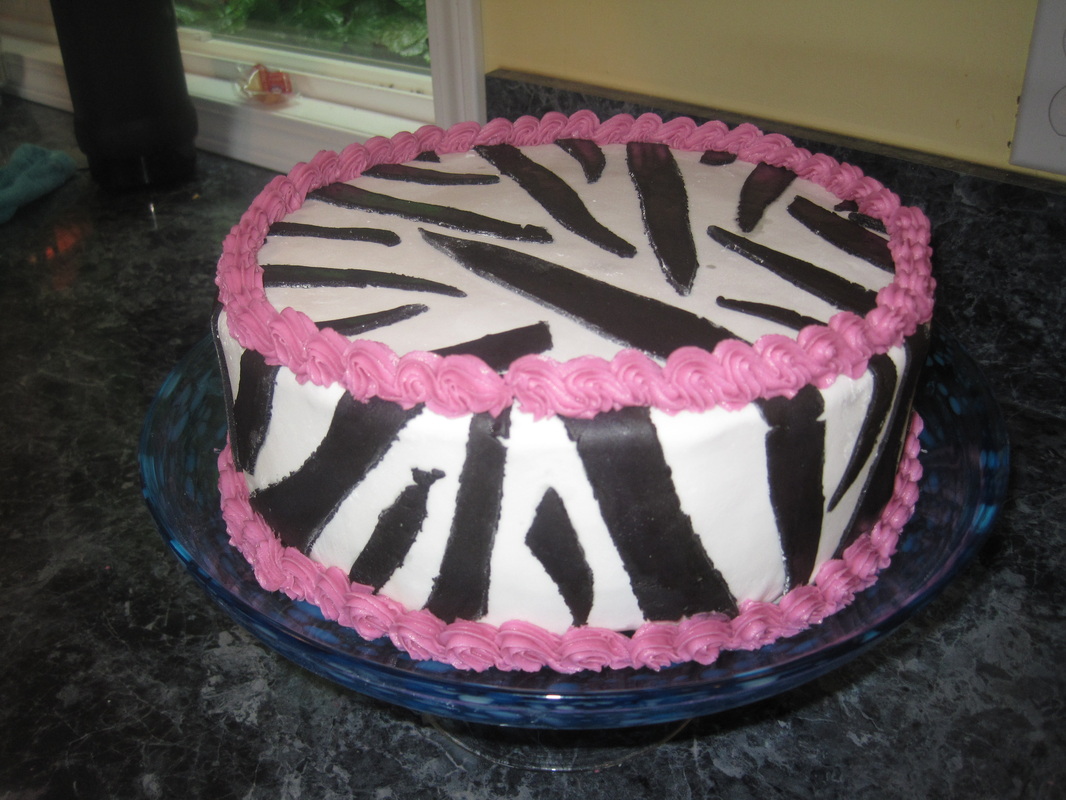
From here I used some bright pink butter cream icing with my large star tip, and piped my boarder.
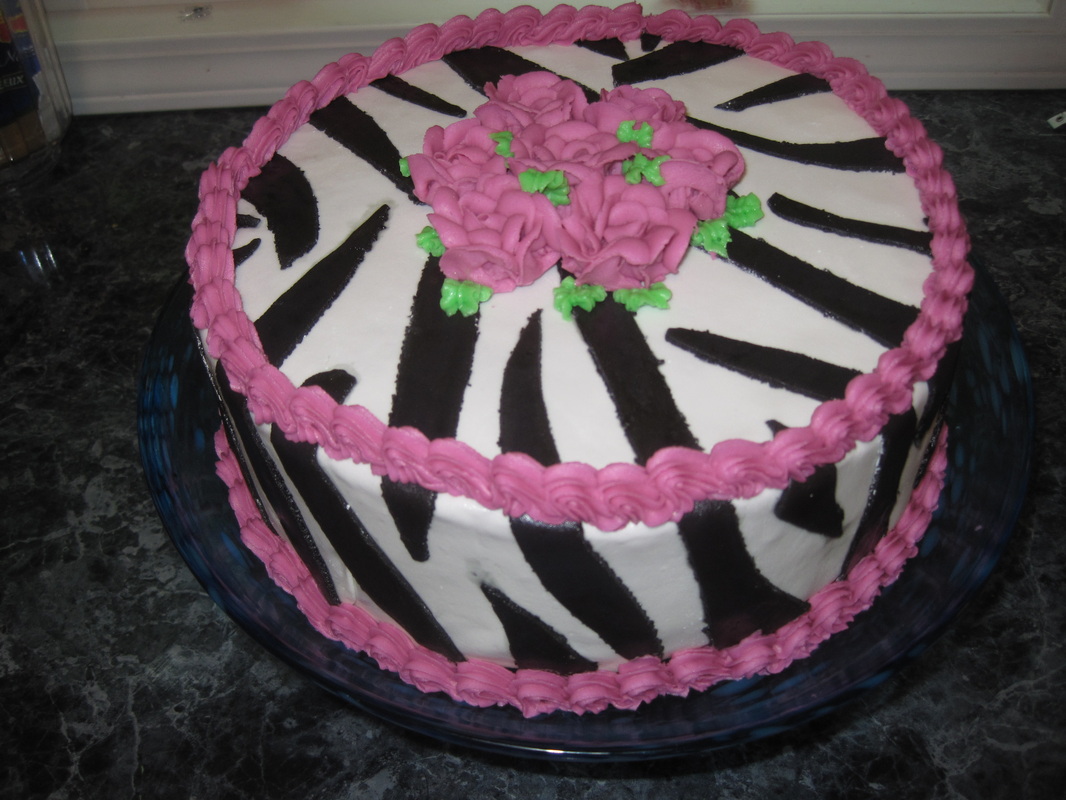
I changed the icing tip to the rose petal tip, and using the same pink icing made roses for the center of the cake.
I'm still just learning myself, so I'm not going to attempt to explain it! YouTube it if you want to learn how.
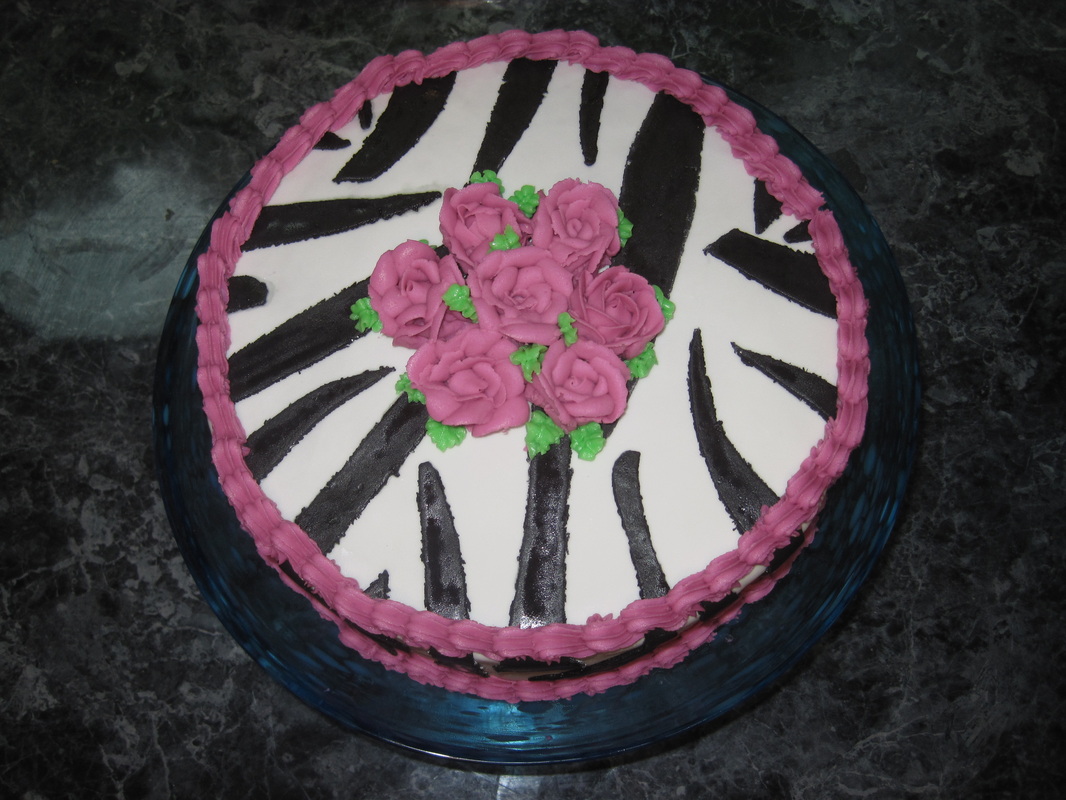
One tip I can give though, is use your flower nail (or whatever it's called) covered with wax paper. Form your rose in that, and then carefully remove the wax paper onto a plate. Put your plate full of roses into the freezer, and leave there for about an hour. They will be completely hard, and MUCH easier to handle and place.
This is what I did, and it worked really well. After placing the roses, I just had to use my leaf tip to make some little green leaves, and I was done!
I'm still just learning myself, so I'm not going to attempt to explain it! YouTube it if you want to learn how.
One tip I can give though, is use your flower nail (or whatever it's called) covered with wax paper. Form your rose in that, and then carefully remove the wax paper onto a plate. Put your plate full of roses into the freezer, and leave there for about an hour. They will be completely hard, and MUCH easier to handle and place.
This is what I did, and it worked really well. After placing the roses, I just had to use my leaf tip to make some little green leaves, and I was done!
| 
|
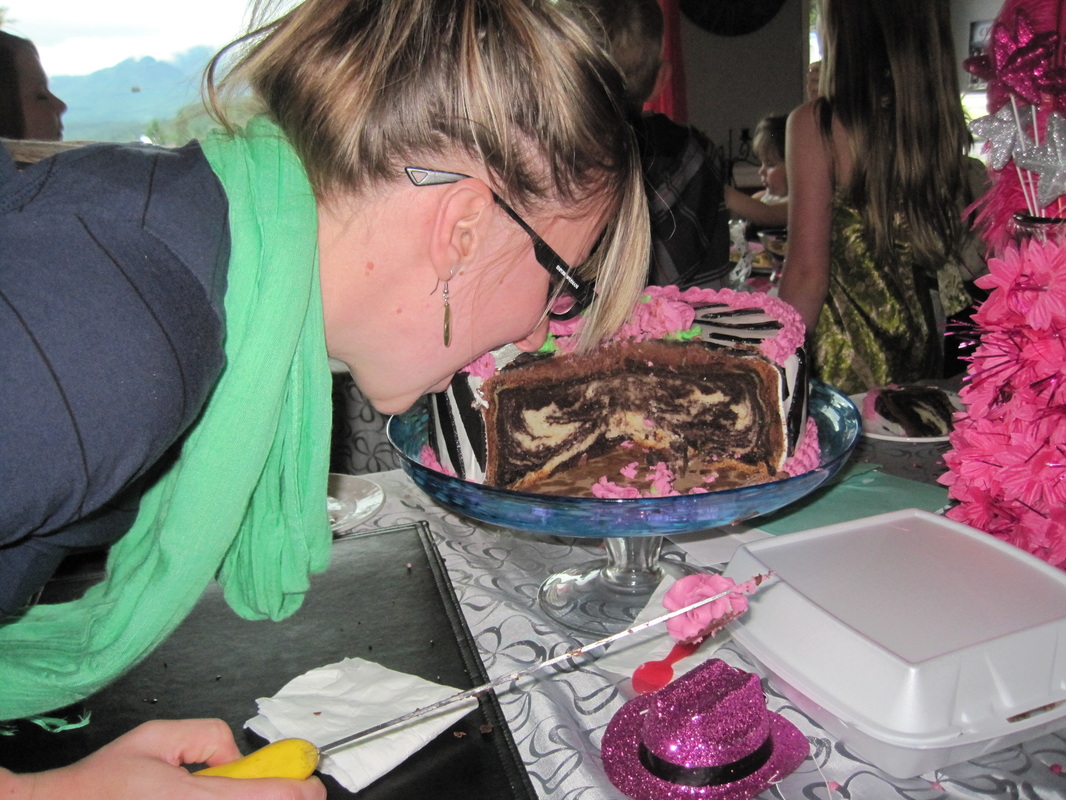
She liked her cake :D
This tired cake decorator is off to bed.
Love and Hugs!
Love and Hugs!
Please don't forget to vote!


 RSS Feed
